
Reviewed · YOGYAKARTA BATIK & SILVER WORKSHOPS
Batik Master Class with Full Process
Batik isn’t just something you watch; it’s something you make, step by step. I love the full process you learn in about three hours, from wax tracing to dyeing, and I also like that the class is set in a calm spot close to Prambanan Temples, so it feels like a break in your day, not a detour. One thing to plan for: when you finish, your cloth may still be a bit wet, so you’ll want a way to transport it without worrying.
The best part is the hands-on teaching. You get guided on the tools, how to do things properly, and then you practice the actual motions that make batik look like batik. The class is led by a master batik craftsman in the Prambanan area, and the process is clearly explained for beginners. Just remember the workshop involves wax, dye, and later soaking/drying steps, so it’s not the kind of souvenir you want to rush into a full day bag and forget about.
In This Review
- Key things that make this class worth your time
- Price and time: is $19.50 a good deal for this much process?
- Setting the day up right: Prambanan, Sojiwan, then batik work
- Stop 1: Prambanan Temples
- Stop 2: Sojiwan Temple
- Where you meet and where you end
- The workshop basics: what you’re learning before you touch the wax
- Canting and wax tracing: the moment your design becomes batik
- What to expect during wax tracing
- How the class helps you improve in real time
- Dye in sequence: turning wax lines into color
- The finishing steps: drying, soaking, and what to do with your souvenir
- Snacking while you work: the small comfort that makes the class feel easy
- Who this class is for (and who should skip it)
- You’ll probably enjoy this if you want:
- Consider a different option if:
- Logistics that actually matter: group size, tickets, and planning your transport
- Is it worth pairing with Prambanan that same day?
- Should you book the Batik Master Class near Prambanan?
- FAQ
- How long does the batik master class take?
- What will I create during the class?
- Do I get food and drinks during the workshop?
- What tools will I use?
- Is the class good for beginners?
- Where does the activity start and end?
- How many people are in the group?
- Is weather important?
- What if I cancel last minute?
Key things that make this class worth your time

- You make the batik design yourself: you trace a pattern, outline it in wax, then dye in sequence.
- Canting is part of the real experience: you use the traditional wax tool, not a shortcut.
- Snacks plus coffee and tea keep the session comfortable while you work.
- Close to Prambanan: it pairs naturally with a temple day, with the workshop near the temple complex.
- Small-group feel with a max of 30 travelers.
- Take-home by the end: once drying and finishing steps are done, your piece becomes your souvenir.
Get hands-on with more batik and silver workshops in Yogyakarta
- Kotagede Royal Route – Cycling Tour★ 5.0 · 207 reviews
- Yogyakarta Cooking Class and Market Tour★ 5.0 · 99 reviews
- Traditional Javanese Archery Class★ 5.0 · 13 reviews
Price and time: is $19.50 a good deal for this much process?
At $19.50 per person for roughly 3 hours, this batik master class is priced like a true activity, not just a quick demo. You’re not paying for a photo op. You’re paying for instruction on tools, guided technique for wax and dye, and then a finished piece you can take home.
To judge value, think about what you get by the end:
- You leave with something you helped create (either handkerchief size or a tote option with an added cost).
- The time is long enough to actually learn the motion—especially the wax tracing part.
- You also get snacks, coffee, and tea, which helps the session feel like an afternoon activity rather than a rushed class.
This is also booked fairly often (about 10 days in advance on average), which tells me the workshop is popular in the Prambanan zone.
Setting the day up right: Prambanan, Sojiwan, then batik work
This experience fits neatly into a Yogyakarta day because it starts with a bit of sightseeing and then shifts gears into hands-on making.
Stop 1: Prambanan Temples
Prambanan is the big draw, and it works well as the morning or early afternoon anchor. After walking around the temple grounds, you’ll likely appreciate having a change of pace. You’re not just learning batik indoors; you’re doing it in the same Prambanan area where batik craftsmanship and the region’s culture feel connected.
Stop 2: Sojiwan Temple
The second stop gives you more temple time before you switch to craft. This matters because batik can be mentally “hands busy” work. If you come straight from a long travel day, you might feel tired. Doing it after temple visits usually gives you the right rhythm: movement first, then focused crafting.


Where you meet and where you end
You meet at Pasar Prambanan (Ps. Prambanan, Jl. Merpati No.60). The activity ends back at the meeting point, which keeps things simple when you’re planning transport for the rest of your day.
The workshop basics: what you’re learning before you touch the wax
Before you start making, the class begins with an intro to batik and the tools. This is important because batik has rules. The beauty comes from control—where wax goes, how it’s applied, and how the dye sequence brings out the color.
You’ll be taught:
- What batik is (textiles dyed using wax, with batik’s hallmark patterning)
- Which tools you’ll use
- The proper way to do the steps in order
Even if you’re a complete beginner, this “start with the logic” approach helps. Wax resist is the concept that makes batik look so crisp. Without that context, the steps can feel random. With it, everything clicks.
Canting and wax tracing: the moment your design becomes batik
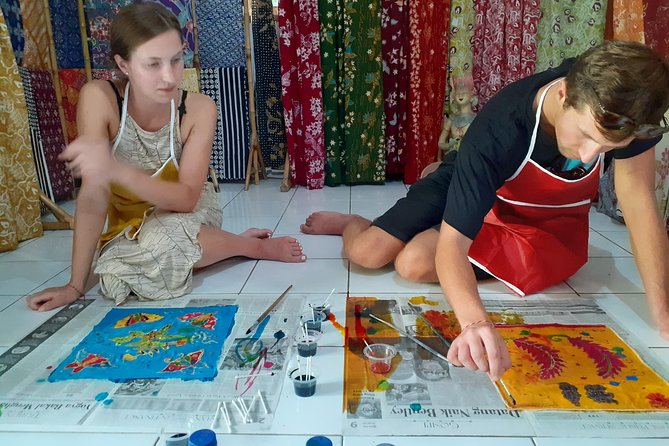
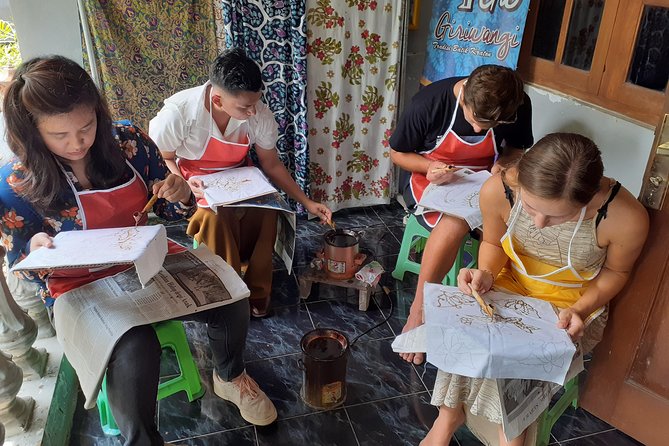
This is the heart of the class. You’ll trace a pattern and then outline it in melted wax using traditional canting tools.
What to expect during wax tracing
The wax step is where you’ll feel the learning curve. Your first lines might not look perfect, and that’s normal. The class environment is built for first-timers, not trained artisans. Instruction focuses on technique, and you keep going even when your hands are still figuring things out.
One practical thing to remember: wax work is exact. If you smear or overfill a line, it can blur your pattern. The good news is the teaching is designed to help you slow down and get control.
How the class helps you improve in real time
You’re not left alone with tools. You get guidance during the making process, so you can correct as you go. In the reviews, the tone that stands out is patience—teaching you as you try.
Dye in sequence: turning wax lines into color
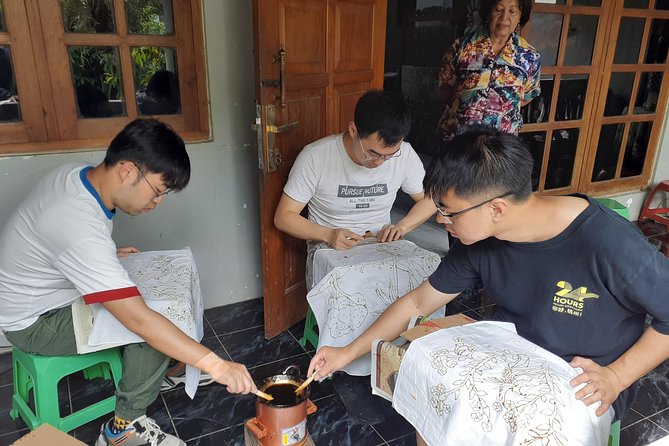
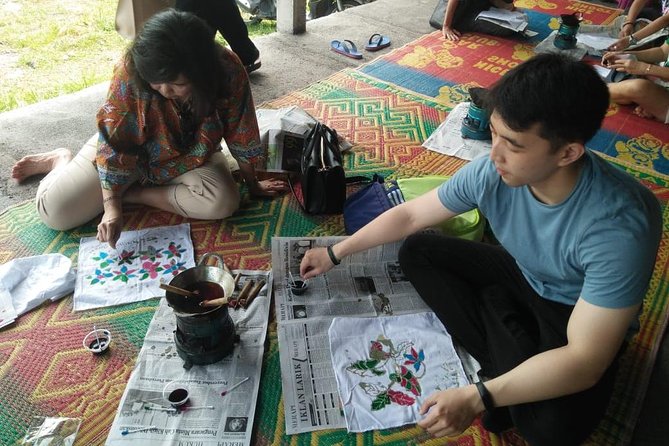
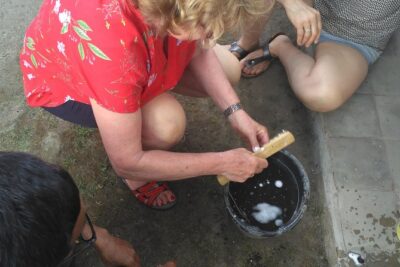
Once your wax lines are set, you move into dyeing. Batik dye isn’t one-and-done. The process uses dye in sequence, which is how different colors appear where they should.
Even if you don’t fully master the chemistry, you’ll see how the wax-resist approach creates clean shapes. This is the part that feels like magic, because the pattern you traced earlier starts transforming into layered color.
You’ll also work with the idea that batik is about controlled steps. If you rush one stage, the next stage gets harder.
The finishing steps: drying, soaking, and what to do with your souvenir
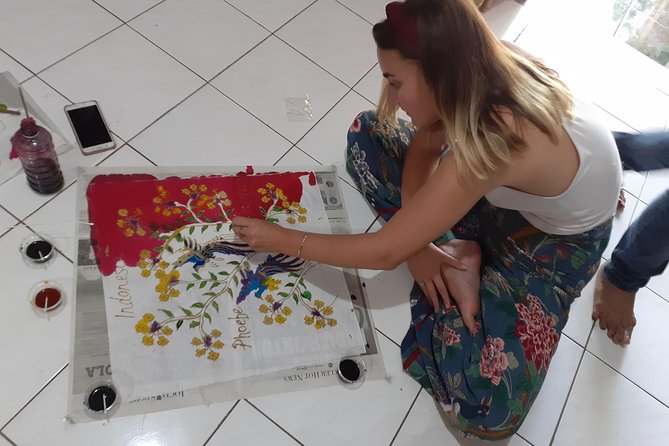
After the dye work, your piece goes through the finishing stages. In practice, that includes drying and then steps that involve a chemical solution and water, before final handling.
This is also why you should plan transport with care:
- The souvenir may still be wet when you leave, based on how the process finishes for your class timing.
- You’ll want something like newspaper or absorbent material and a way to keep it from staining other items.
If you’re heading to dinner or hopping to another location right after, I’d keep the batik in a separate bag and don’t store it next to light-colored clothes.
Snacking while you work: the small comfort that makes the class feel easy
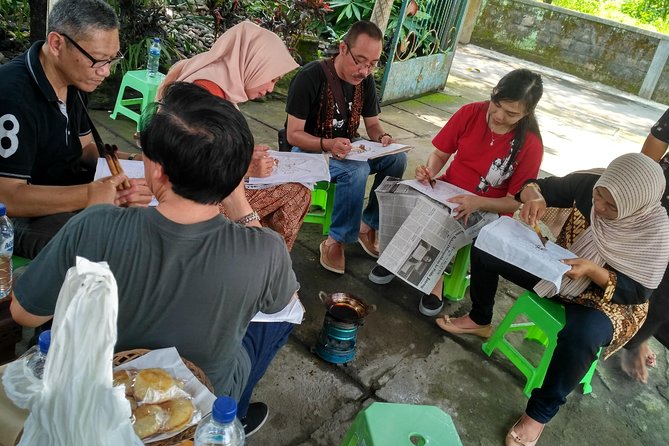
One of the best “I can breathe” parts of this class is that it isn’t just tools and dye. You’ll nibble on authentic local snacks and have coffee and tea while you work.
This matters more than it sounds. Batik takes concentration, and a comfortable break keeps the session from feeling like an exam. It also helps kids and beginners stay engaged without getting restless.
Who this class is for (and who should skip it)
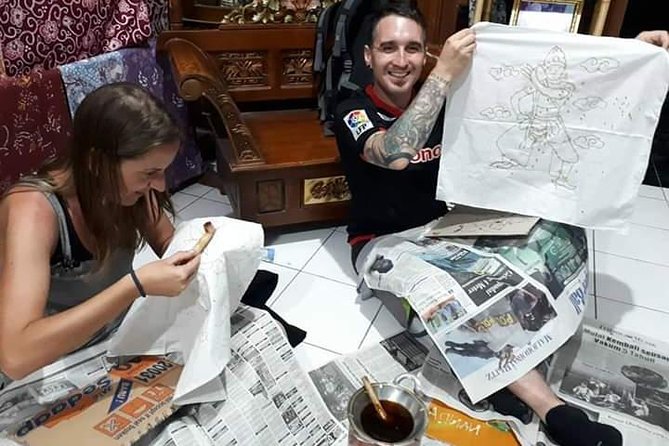
You’ll probably enjoy this if you want:
- A hands-on souvenir you can be proud of
- Clear step-by-step guidance for a traditional craft
- A calm indoor or workshop-style activity between temple sightseeing
- A family-friendly creative outing (the workshop has drawn families, and children often enjoy the coloring stage)
Consider a different option if:
- You don’t want any chance of a damp or freshly finished textile when you leave
- You’re very short on time, since the full process is part of the value and takes about three hours
Also, the class is listed for people with moderate physical fitness. That usually means you should be comfortable with normal standing and moving around for a few hours.
Logistics that actually matter: group size, tickets, and planning your transport
This workshop runs with a max of 30 travelers, which usually keeps the class from feeling chaotic. It’s not a private atelier, but it’s also not so large that you get lost.
You’ll receive a mobile ticket, which is convenient if you’re already juggling other bookings on your phone. Bring the ticket up at the meeting point.
Transport planning tip: since the activity ends back at Pasar Prambanan, you can keep your day simple by arranging your next ride from there. If you’re using a car/driver, it’s easy to plan around the fact that you’ll likely need time to handle your finished cloth properly.
Is it worth pairing with Prambanan that same day?
In my view, yes, because the location and timing do the work for you. The workshop is near the Prambanan Temple Complex, so you don’t need to plan a complicated cross-town move just to reach craft.
Practical reasons this pairing works:
- You get cultural context from the temple area, then switch to a living craft.
- The session is long enough to feel like a real activity, not a rushed side stop.
- The workshop includes food and drink, so you’re not scrambling for snacks after temples.
If you’ve already planned a Prambanan visit, this batik class functions like a natural “capstone” to the day.
Should you book the Batik Master Class near Prambanan?
Book it if you want a traditional craft souvenir created with your own hands, not a factory-made product. The instruction quality, the canting wax tracing, and the step-by-step sequence that leads to a finished piece are the reasons this class earns strong satisfaction. Add in snacks, coffee, and tea, and the location near Prambanan, and it’s a solid value for the time.
Skip or rethink it if you can’t handle the possibility of a damp textile at the end, or if you prefer crafts that are quicker and cleaner. If you’re flexible about transport and timing, this is the kind of experience that leaves you with something you’ll actually remember months later.
FAQ
How long does the batik master class take?
It lasts about 3 hours.
What will I create during the class?
You’ll make your own batik piece through the full process, with options including a handkerchief size result. A tote bag option is available for a bit extra cost.
Do I get food and drinks during the workshop?
Yes. The class includes authentic local snacks and coffee and tea while you work.
What tools will I use?
You’ll be taught and use traditional tools, including canting for outlining with melted wax.
Is the class good for beginners?
Yes. The workshop starts with an introduction to batik and tools, and instruction is guided through the steps.
Where does the activity start and end?
The meeting point is Pasar Prambanan, and the activity ends back at the same meeting point.
How many people are in the group?
The workshop has a maximum of 30 travelers.
Is weather important?
Yes. The experience requires good weather, and if it’s canceled due to poor weather, you’ll be offered a different date or a full refund.
What if I cancel last minute?
If you cancel up to 24 hours in advance, you get a full refund. If you cancel less than 24 hours before the start, you won’t be refunded.
More Yogyakarta Batik and Silver Workshops
- Kotagede Royal Route – Cycling Tour
★ 5.0 · 207 reviews - Yogyakarta Cooking Class and Market Tour
★ 5.0 · 99 reviews - Traditional Javanese Archery Class
★ 5.0 · 13 reviews
More Yogyakarta Tour Reviews Worth Reading
- Borobudur Sunrise from setumbu Hill , Merapi Volcano & Prambanan Full Day Tour
★ 5.0 · 1,030 reviews - Borobudur Temple Climb To The Top & Prambanan Temple – 1 day tour
★ 5.0 · 638 reviews - Menoreh Village Cycling
★ 5.0 · 611 reviews
Not quite the one? Here is more to do around Yogyakarta, freshly reviewed by us



Yogyakarta Batik & Silver Workshops, compared.
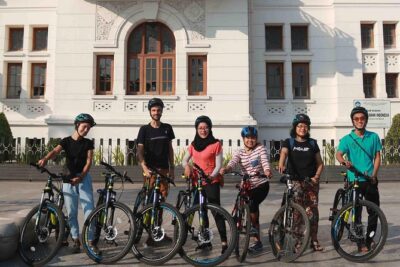 ★ 5.0Kotagede Royal Route – Cycling TourFrom $57207 reviews
 ★ 5.0Yogyakarta Cooking Class and Market TourFrom $3599 reviews
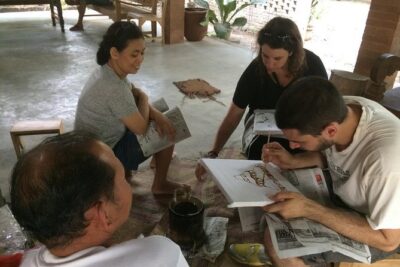 ★ 5.0Borobudur: Village Tour with Pottery and Tofu MakingFrom $7934 reviews
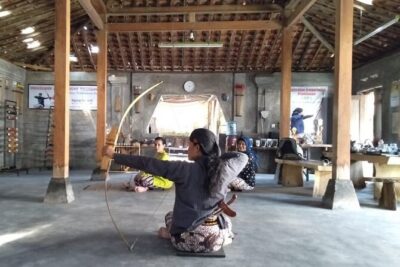 ★ 5.0Traditional Javanese Archery ClassFrom $2713 reviews
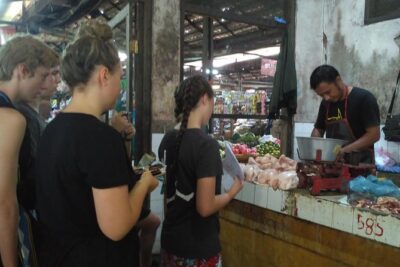 ★ 5.0Kotagede Yogyakarta Heritage Walk TourFrom $356 reviews
 ★ 5.0Kotagede Yogyakarta Silvercrafting Short CourseFrom $474 reviews
Browse the lists this tour appears in